Register Managed Services as an Okta application
After you click Create, Okta guides you through a series of configuration panels.
-
In the General Settings panel, enter
MS-Portalas the App name, and then click Next.
-
Open the IdP metadata XML file that you saved after generating it in Managed Services.
-
In the metadata file, copy the URL identified as
AssertionConsumerServiceorSingleSignOnService.Important: This must be the first of the two
Locationvalues: the one labeledHTTP-Redirect:<SingleSignOnService Binding="[...]:HTTP-Redirect" Location="https://[...]/IDPAssertion/saml/SSO"/> <SingleSignOnService Binding="[...]:HTTP-POST" Location="https://[...]"/> -
Paste the
Locationvalue in Okta’s GENERAL section > Single sign on URL field. -
In the same Okta dialog, below the URL field, click to turn on the check box labeled Use this for Recipient URL and Destination URL.
-
In the metadata file, copy the
entityIdURL, and then paste it in the GENERAL section > Audience UI (SP Entity ID) field.<ID="[...]" entityID="https://[...].blackduck.com"/>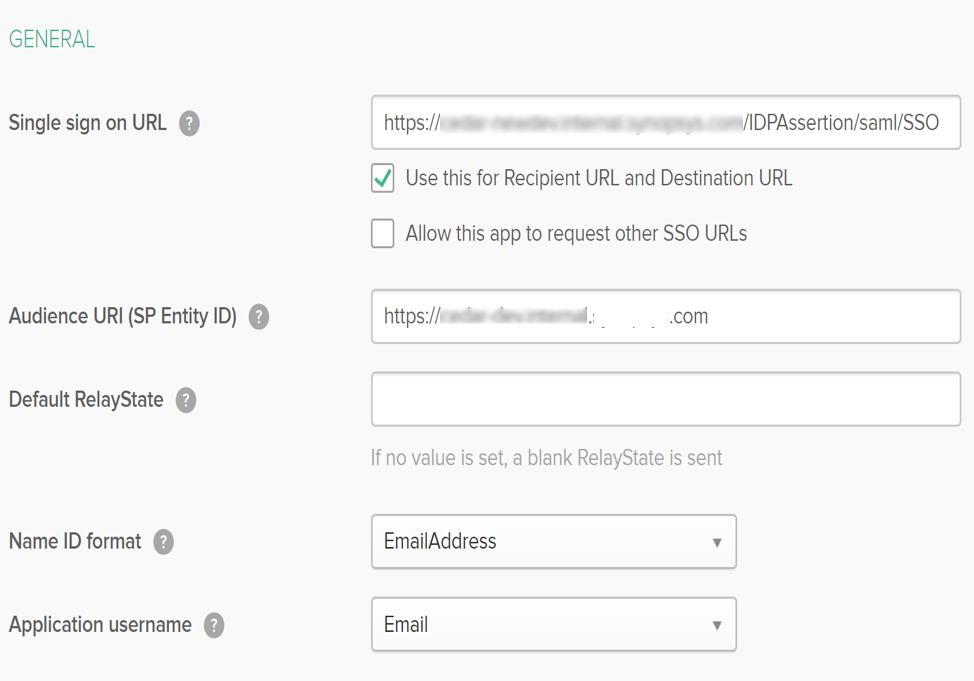
-
In tne ATTRIBUTE STATEMENTS (OPTIONAL) section, set EmailAddress to
user.email, FirstName touser.firstName, and LastName touser.lastName.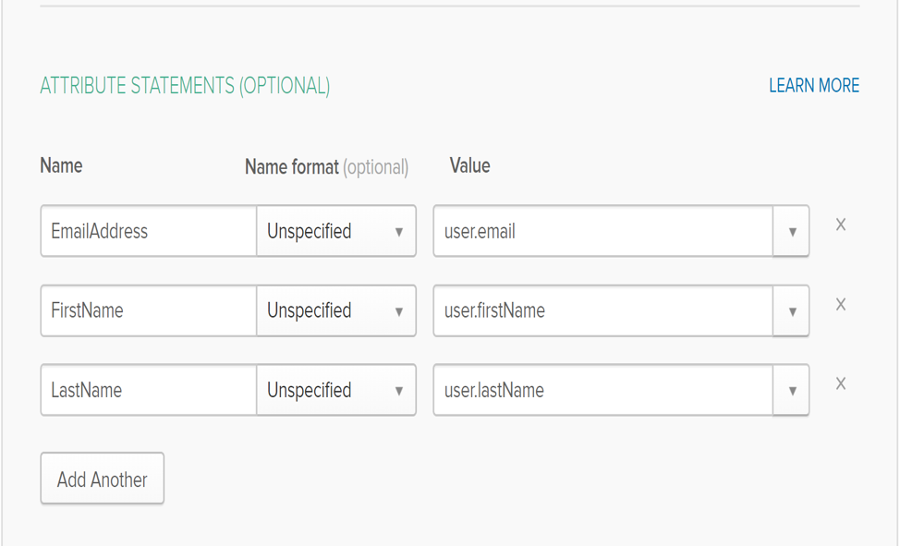
-
Click Next to continue.
-
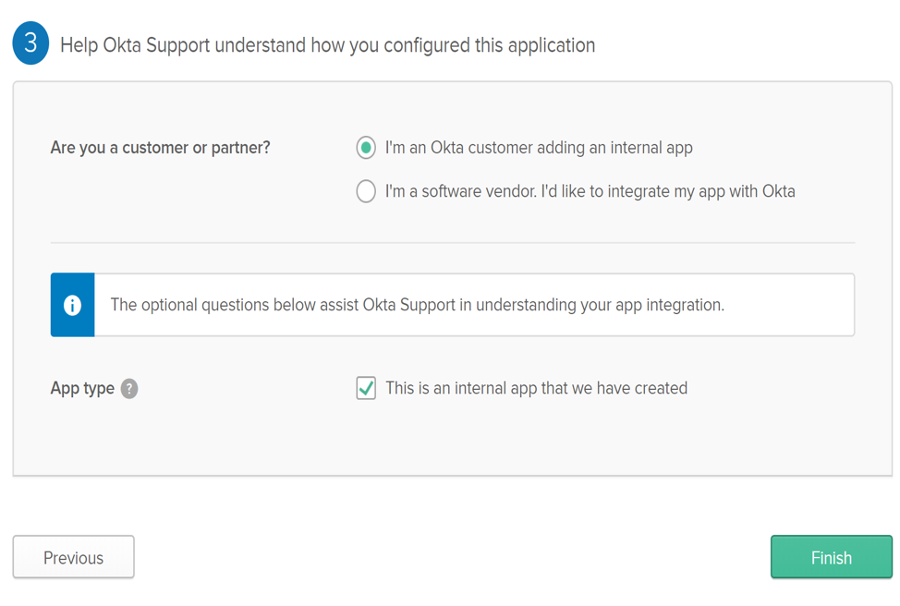
In the third panel, Help Okta Support..., choose I'm an Okta customer adding an internal app, and then click to turn on This is an internal app we have created.
-
Click Finish to complete the registration.
Parent topic:In Okta, configure Single Sign-on