Creating a New Test Target
You can create new test targets from the TARGET panel.
-
Navigate to TARGET > Targets.
-
Click + NEW TARGET.
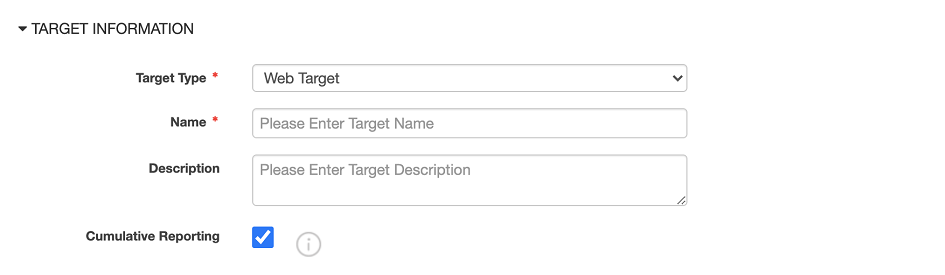
This displays the TARGET INFORMATION form.
-
In the Target Type menu, choose one of the following:
- Web Target. Choose this if the test target is a Web application that you want assessed when using Dynamic Application Security Testing or Penetration Testing.
- Mobile App. Choose this if the test target is a mobile application you want assessed using Mobile Application Testing.
- Network Target. Choose this if the test target is a network you want assessed using Network Security Testing.
- Source Code. Choose this if the test target is source code you want assessed using Static Application Security Testing.
- Architecture. Choose this if the test target is the architecture of an application that you want assessed using Secure Design Review.
- Cloud. Choose this if the test target is a cloud deployment of an application that you want assessed using Cloud Configuration. After you choose a target type, the appropriate fields should display for that target type.
-
Complete the other Target Information fields.
(The fields shown in this image are specific to the Web Target type.)
-
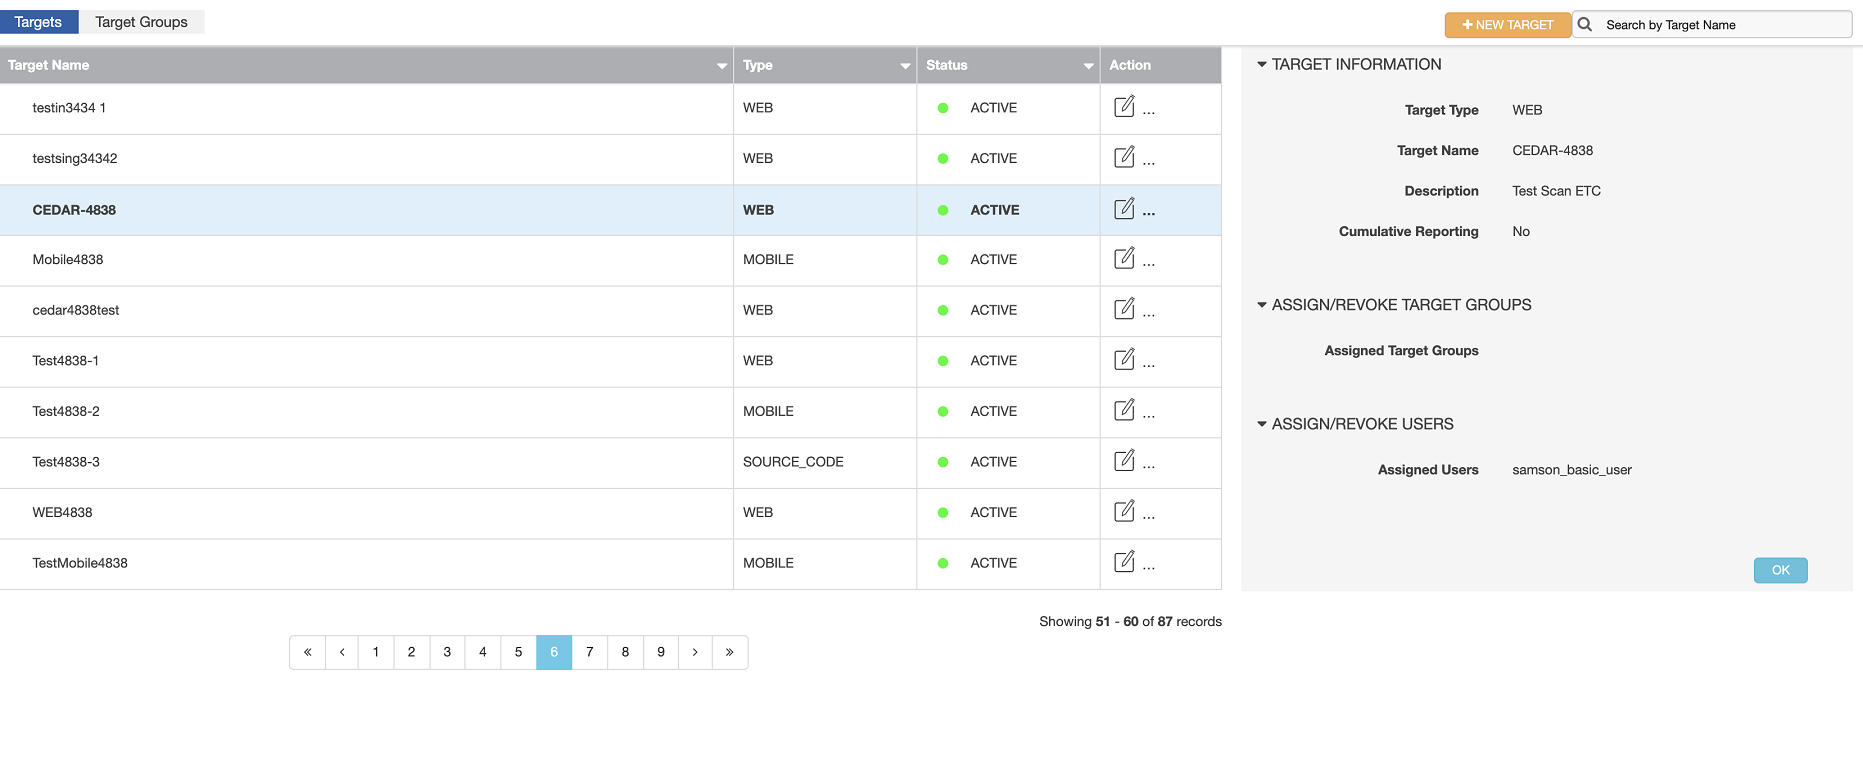
(Optional) Complete the Assign/Revoke Target Groups section.
In this section, you can assign the target to one or more target groups. This is useful for doing the following actions:
- Controlling user access to targets by target group
- Filtering the dashboard by target group If target groups are listed in the Available Target Groups box, move one or more of the target groups to the Assigned Target Groups box to assign the target to those target groups.
If no target groups are listed, you can create target groups using the Target Groups page on the TARGET panel.
-
(Optional) Complete the Assign/Revoke Users section.
In this section, you can assign the target to one or more users. This is useful for controlling user access to the target: for example, when scheduling a test.
If users are listed in the Available Users box, move one or more of the users to the Assigned Users box. This assigns the target to those users.
-
To finish creating the target, click the CREATE button (in the lower-right corner of the form).
Parent topic:Creating Schedules for Test Targets